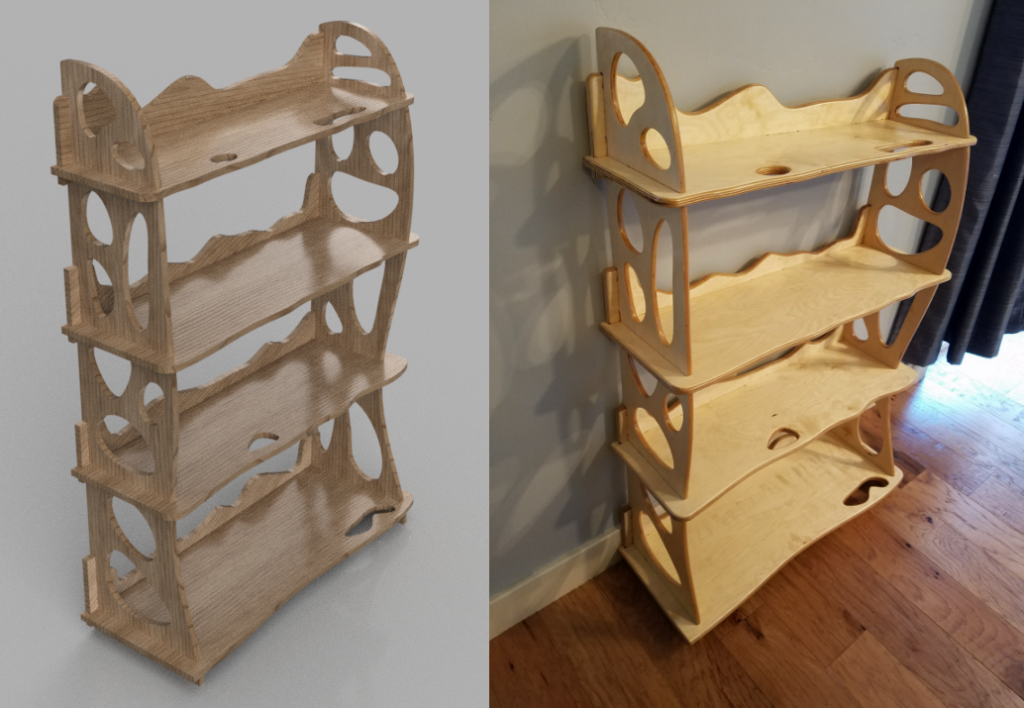
Some of you may know that I’ve been writing the Shaper Utilities app that allows you to export Fusion 360 designs to be used with the new Shaper Origin router. For those of you not familiar with the Shaper Origin router, it’s a new handheld CNC router that is unique in the power tool marketplace. This is a recent experience I had using Fusion 360 and Shaper Origin.
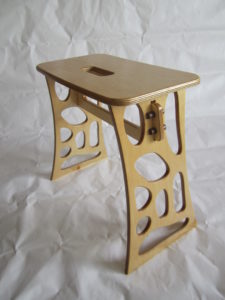
I visited family in Utah and wanted to share some of my enthusiasm for the router with them. I loaded the car with some cuts of plywood, two portable sawhorses, my Shaper Origin, and my regular wood router and we made the 12-hour drive from Portland to the Provo area of Utah. I was planning to do some small projects with them and had brought enough wood to create two of the stools shown below, which I had already built three before Christmas.
My daughter informed me that she didn’t really need a stool but could use a bookcase. I thought about it for a day or two and then sat down one night in front of Fusion 360 and started to work on a design. It’s very rare that the first iteration of a project turns out, or even works, but I think this one turned out great. The picture below is a rendering of the design in Fusion 360.
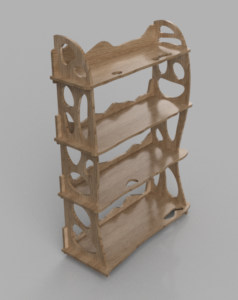
The design did take me a couple of hours but being able to have the entire assembly in the one file and use a top-down design approach worked very good in this case. As far as I know, this design is unique and is not based on anything else. It doesn’t use any fasteners but just fits together. The fact that it was a completely new design also meant that I didn’t know if it would actually work but I decided to move forward and give it a try.
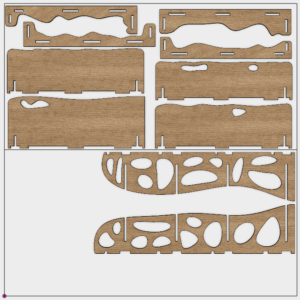
It turned out that the plywood I brought with me for the stools wasn’t long enough for the bookshelf but I located a local supplier that had 5ft x 5ft sheets of Baltic birch. In Fusion 360, I laid out my design and found that it would easily fit on a 5×5 sheet. Below is a picture of the parts laid out on the sheet. Using a recent version of the add-in, which supports a new “Solid Bodies Layout” option, I was able to create a file to use on the Shaper Origin to cut the pieces as shown below.
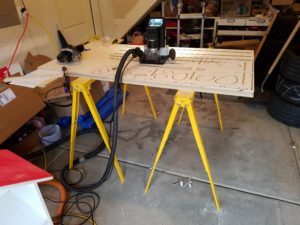
My “shop” was a temporary set-up in my daughter’s garage where I used the two portable sawhorses, some of the wood I brought with, and some clamps to create a work table.
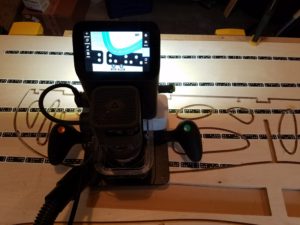
The Shaper Origin router has a camera and uses vision to precisely locate its position on the board you’re cutting. It is also a small 3-axis router that can move the spindle a small amount in X, Y, and Z. For the router to be able to know it’s precise location, there’s some special “Shaper Tape” that you lay out on the board you want to cut. The tape looks like dominos laid out end-to-end. You then create a “workspace” on the router by showing it the tape. Next, you copy the design you want to cut the router using either wifi or a USB stick. Then, you use the screen on the router and augmented reality to position and place the design where you want to cut it on the board. Finally, you cut the design by watching the screen and manually tracing the design with the router. Of course, freehand routing is not very precise but because the spindle can move, the router corrects the position so that you accurately cut along the desired curve. If you mess up and move beyond the corrective range, it will automatically retract. The router also accurately controls the depth too. Below, you can see the tape and a curve that’s been cut is displayed on the screen.
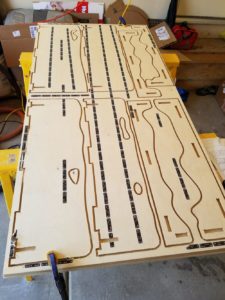
Here’s the board with the shelves and the back supports cut out.
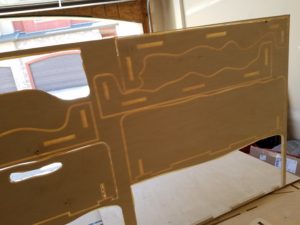
I used the “onion skin” technique of not quite cutting through and leaving a thin skin of wood to hold the part in place, as you can see below. The pieces were fairly easy to cut out using a knife and then using a bit of sandpaper to completely clean it up. I used a round-over bit on most of the edges anyway so I just needed to clean it up enough that the “skin” didn’t interfere with the round-over operation. The round-over bit was the next step and is where I used my regular woodworking router with a bearing rounding-over bit. Some final hand sanding to get everything nice and smooth and three coats of an oil polyurethane that I like. I’ve had good luck with General Finishes Oil and Urethane product that I just wipe on with a rag.
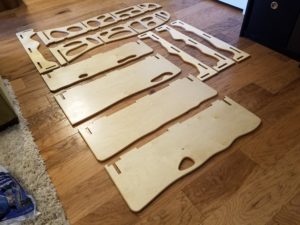
Here are all of the pieces after the final finish and before the final assembly.
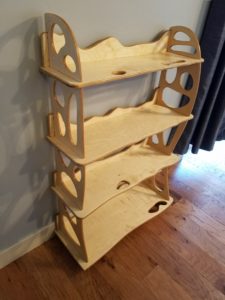
And here is the bookcase after assembly.
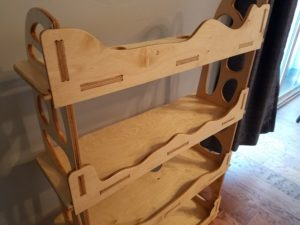
It all slides together without any fasteners or glue, so it’s easy to disassemble and move. Here’s a view of the back where you can see the tabs fitting into the slots of the back supports. This also helps to demonstrate the accuracy of the router.
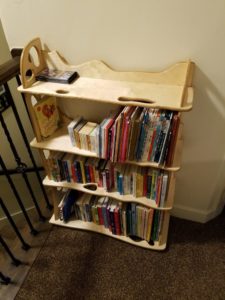
And here’s a final picture of the bookcase in use with my grandchildren’s books.
I’m very happy with how it turned out and that the result is functional. I plan to make one or two more and have made some slight changes to the design to slightly improve the appearance. It was a great experience to be able to carry a small shop in the trunk of my car and be able to build something like this in a few hours.

