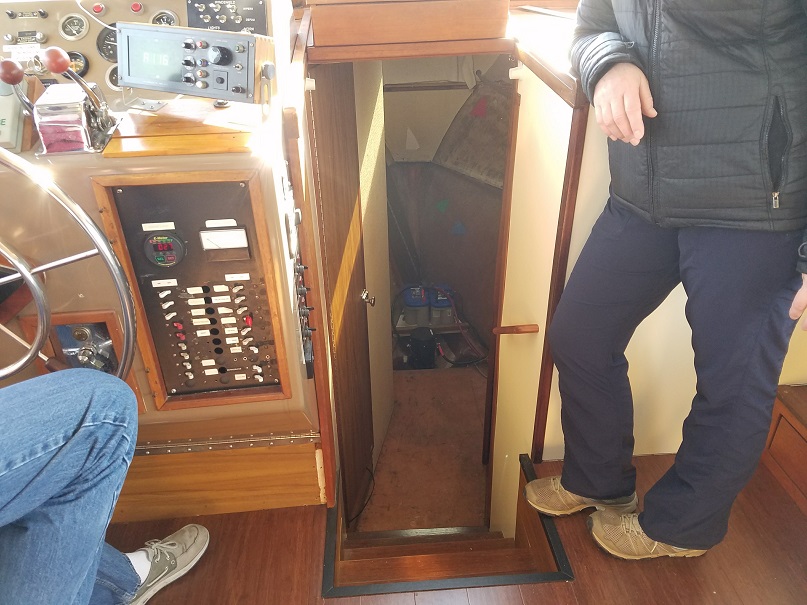
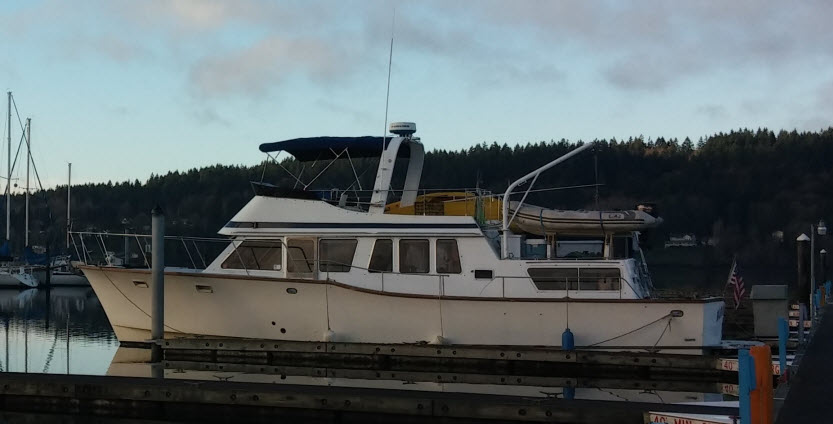
I wanted to share a recent experimental project I did that incorporated some technology that was new to me. My brother-in-law, who lives in Gig Harbor, Washington, owns a share of the 48-foot yacht shown above. It was configured with two bunks in the forward storeroom but the top bunk was too high to make it convenient to get in and out of and it was too close to the lower bunk to make it very comfortable. He wanted to change it to have a single, larger berth. Boat hulls aren’t nice and square like typical rooms, which creates challenges when designing and building inside a boat. Below is picture looking down into the storeroom from the main cabin where the old bunks have already been ripped out. I had an idea to try and use some technology to help in the design and construction. My idea was to use Autodesk’s ReCap to create a 3D model of the storeroom and then create a CAD model of the new berth using the scan. Using the CAD model of the new berth I could use the Shaper Origin router to cut out a pattern that we could take back into the boat to verify it’s accuracy and use the pattern to cut out the boards that would form the base of the new berth.
I had seen demonstrations of Autodesk’s ReCap software at Autodesk University but hadn’t used it myself before this project. ReCap lets you take pictures of an object, upload them, and converts them to a 3D model of the object. I did some research and created a practice model using a bathroom in my house, that’s also a narrow closed space similar to the storeroom. I learned a lot from the research and the trial run.
Getting good pictures as input to a photogrammetry solution like ReCap is the biggest issue with the entire process. Here are some of the things I learned based on my research and experience:
- The pictures need to be clear. The type of camera doesn’t really matter, but you need clear, sharp pictures.
- Lighting is critical. The lighting in all of the pictures needs to be consistent. The software is looking for features in the photographs to be able to join them together. If the lighting changes as you’re taking the pictures, the same features within different photographs may look different so the software won’t identify them as the same feature. This was a challenge in this case because there wasn’t a lot of light in the storeroom. A flash will create inconsistent lighting so it’s not a good option. It’s possible to add stationary lighting which would be consistent in all of the pictures, but that wasn’t practical in this case because the area was so small and it would likely lead to a lot of shadows and even changing shadows if I was in front of the light when taking some pictures.We ended up using what natural light there was and relying on a longer exposure to get clear pictures. There were some portholes and a skylight so there was some light.
- You need a lot of pictures from many different perspectives. The first thought is that you would want to stand in the middle of the room and slowly turn around as you take pictures. Instead, you want to move around the room getting pictures from many different angles and perspectives. For the boat, I used 71 pictures and more probably would have been better.
- The pictures should overlap. The software is looking for the same feature in multiple photographs and stitching them together based on the similarities, so the pictures need to share these similar features.
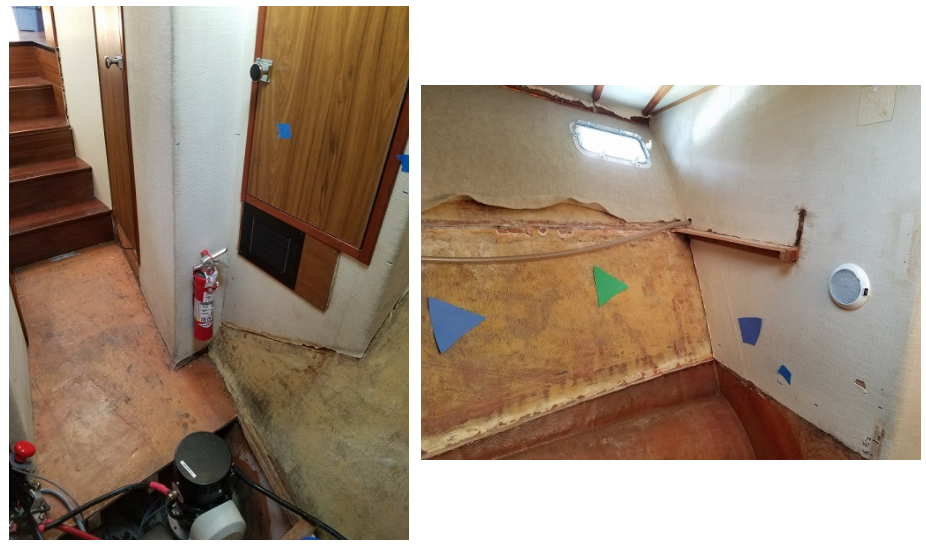
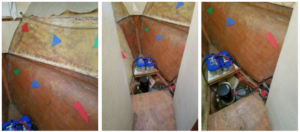
- Based on something I read during my research, I added markers to the scene. I cut random shapes out of some colored construction paper and taped them up around the hull. These provided the unique markers that would allow the software to easily match up the photos. This was a problem with my bathroom test where one larger wall didn’t have any unique characteristics and wasn’t reproduced accurately. Whereas the shower that contained a lot of unique tiles created a great result.
Below is a sampling of some of the 71 pictures I used as input to ReCap.
And here’s a top view of the resulting 3D model in ReCap. You can view the entire 3D model on A360 here: http://a360.co/2p74qrq. Unfortunately, the textures are missing when viewed from A360.
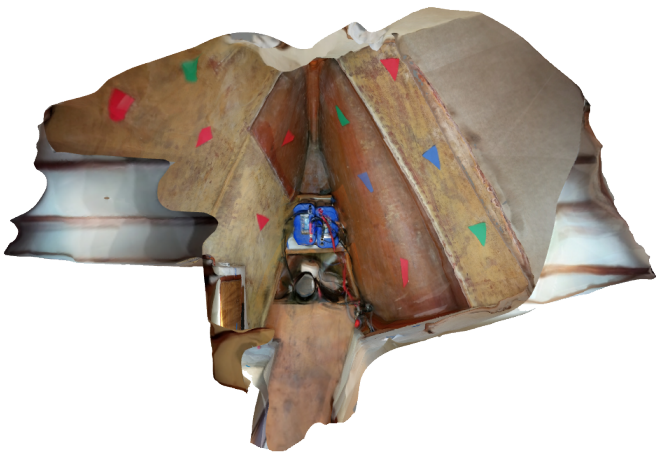
The resulting 3D model is an arbitrary size because there’s no way for ReCap to know what the size is of the object you’re taking pictures of. The pictures could have been from a toy boat or an aircraft carrier. I had measured the size of a key landmark, (the frame around a closet door), and then was able to measure it’s size in ReCap to determine a correct scale factor to apply to get a correctly sized 3D model. I wasn’t particularly confident about the accuracy of this but did the best I could. I could also reorient the model in ReCap because the original result was in a weird orientation.
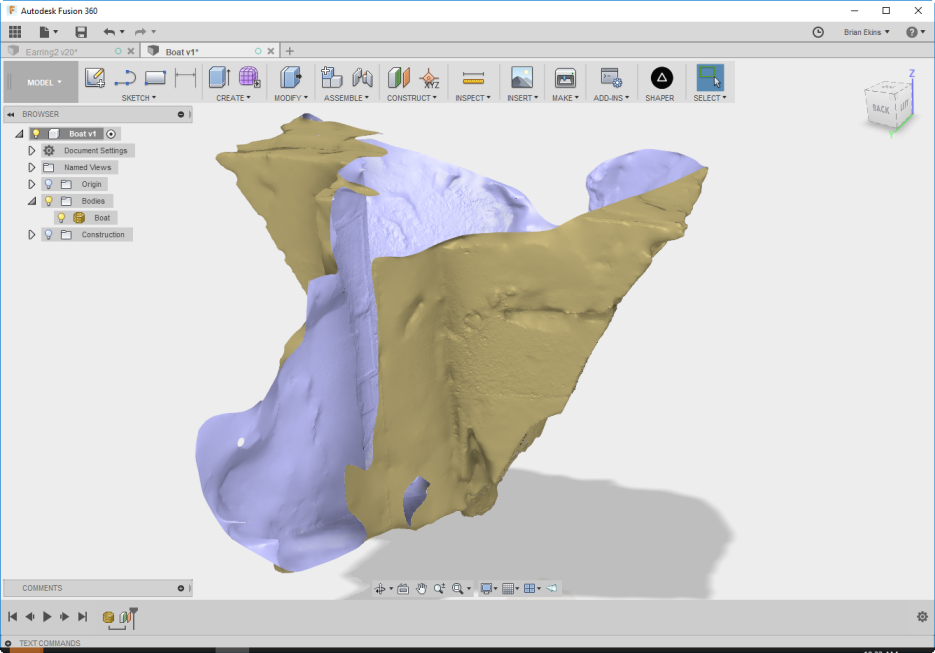
Once I had what appeared to be a good 3D model I exported it as an OBJ file from ReCap. The model is a mesh but in ReCap it looks amazing because it also has a texture applied that provides a lot more realism and detail. I read the exported OBJ file into Fusion 360, which doesn’t support textures on an imported OBJ. The imported mesh contained over 2.1 million triangles. I probably should have simplified the size of the model in ReCap before bringing it into Fusoin 360 because I didn’t need that amount of detail. The model inside Fusion 360 is shown below.
Next, I created a construction plane that represented the plane where the new berth would be. I then used the Create Mesh Section command to create a new section that represents the intersection of the plane and the mesh, as shown below. After creating this section, I was worried that this might all be a waste of time. You can see how wiggly the resulting curves are.
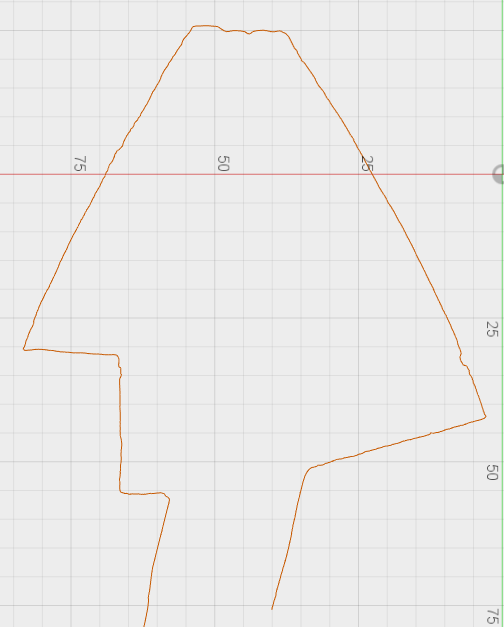
A mesh section in Fusion 360 isn’t usable by itself but is essentially just a viewable representation of the section. There is mesh specific command that will fit curves through portions of the mesh section but because of the obvious issues with the section, fitting a curve through them would have resulted in a very wiggly curve. Instead, I created a new sketch and visually used the section to create two splines, one for each side of the hull. I also drew lines for the other walls that I knew were straight to get the entire outline of the new berth. Finally, I drew some additional lines to be able to break up the birth into smaller sections and get sections along each hull, as shown below.
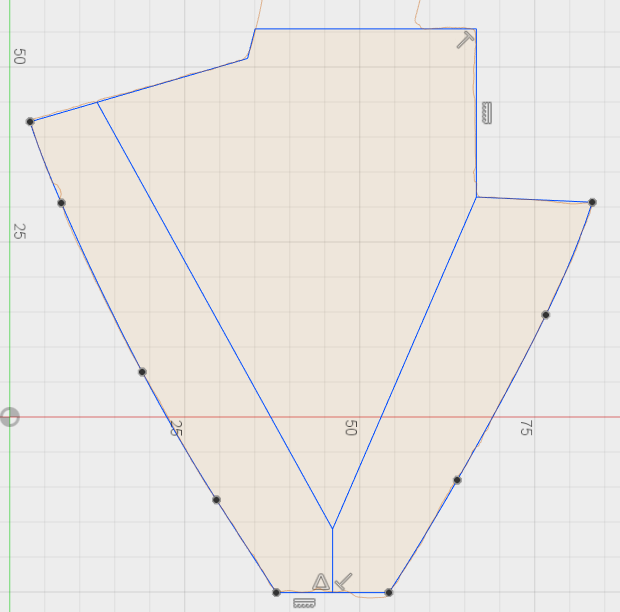
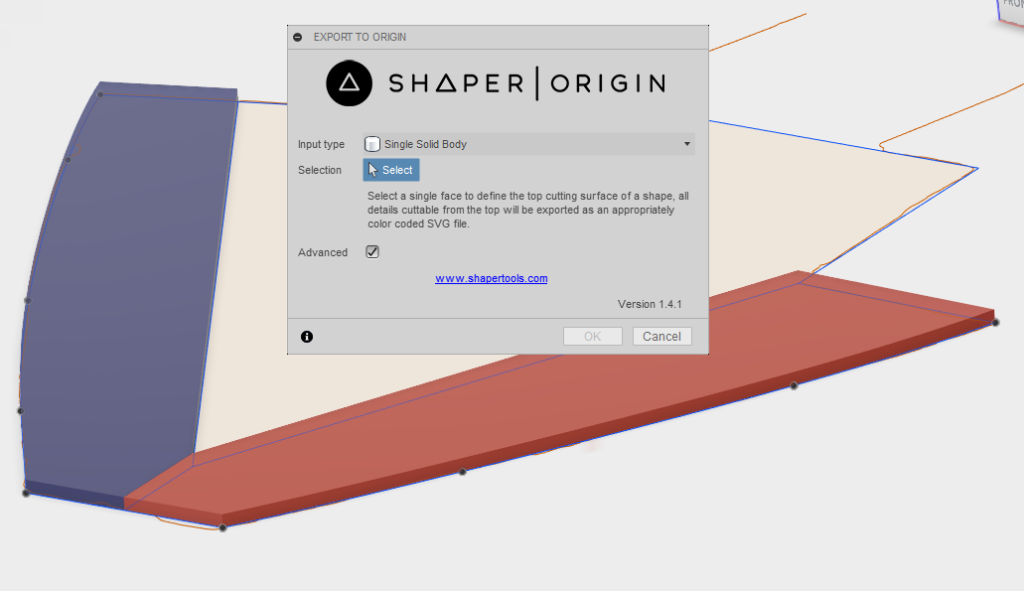
The next step was to create two new bodies by extruding the profiles and then using the Shaper add-in to create the output to use with the Shaper Origin router to cut the boards. The bodies representing the boards, and the interface for the Shaper add-in is shown below.
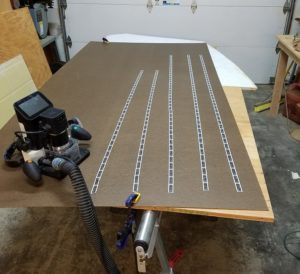
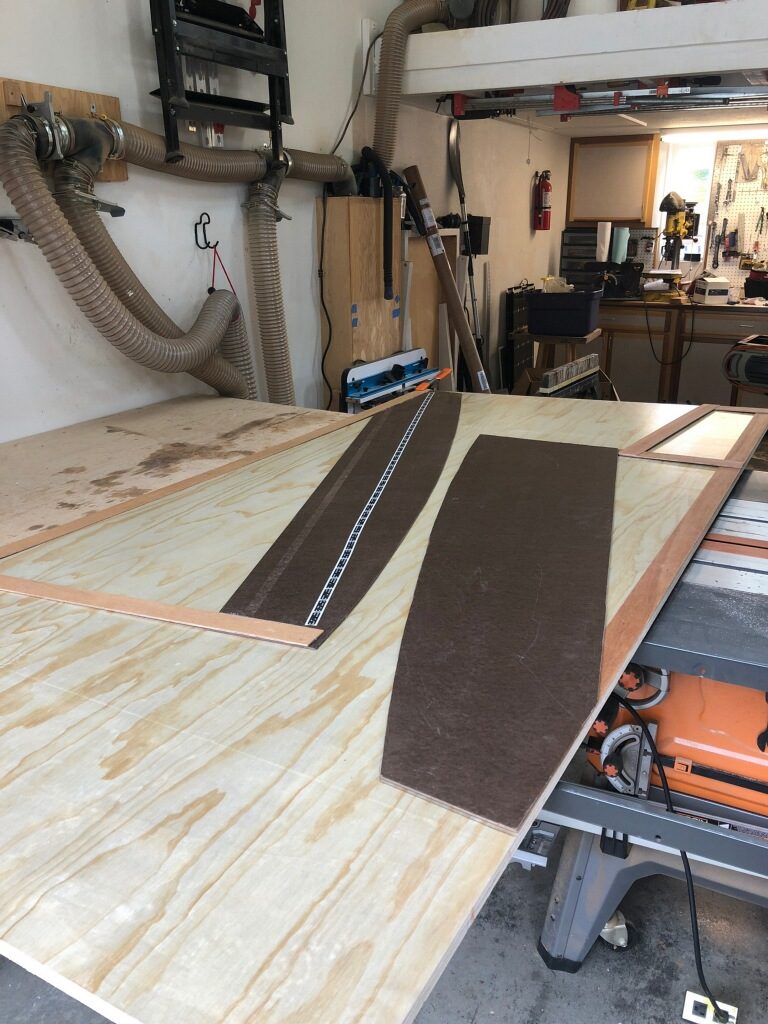
Now it was on to the part of the process I had the most confidence in, which was cutting the boards out of some hardboard to create the templates. Below is the hardboard with Shaper tape applied and the Origin router ready to get to work. For those of you not familiar with the Shaper Origin router, it is a handheld CNC router. It uses the Shaper tape and a vision system to be able to determine it’s location on the board. You upload the design you want to cut onto the router and using its screen, you position the design on the board and then manually follow the outline the best you can. The spindle on the router is controlled by some servos which move the spindle to keep the cutter on the desired path.
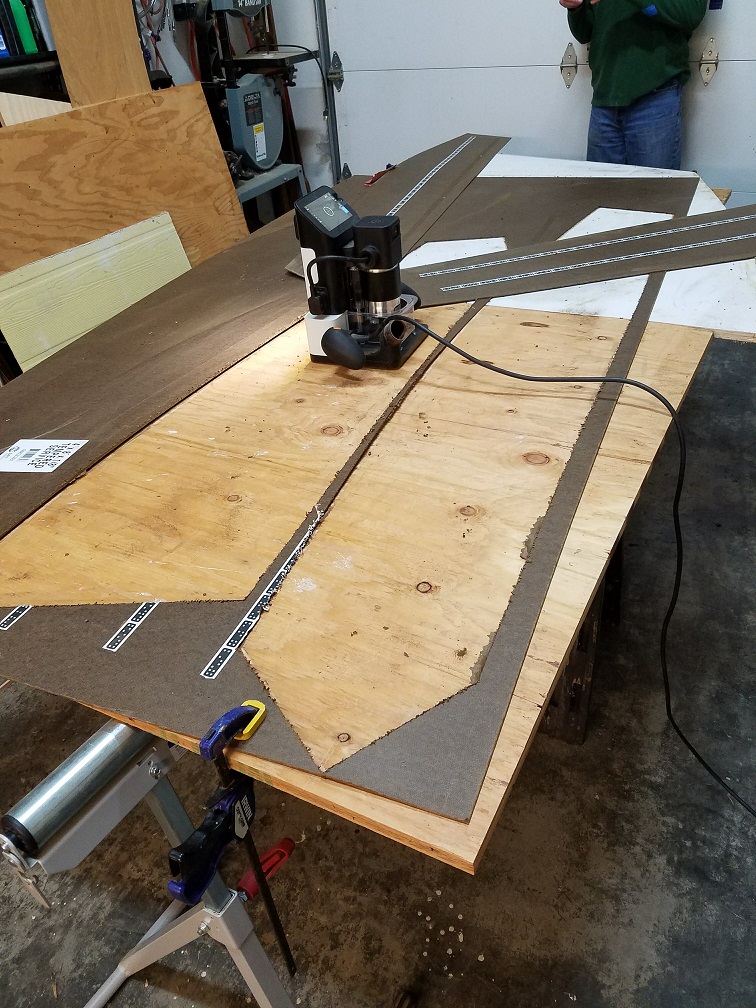
Here’s a picture of the result where the boards that were cut out and are lying in the background.
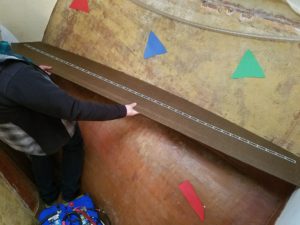
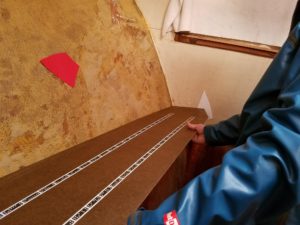
And here are pictures of the two boards being test fit on the boat. I was happy, and a bit surprised, that the fit was as close as it was.
And here, the templates are being used to cut the boards for the base of the bed. The templates did end up being relatively close but still required some scribing and shaping to get them to fit exactly.
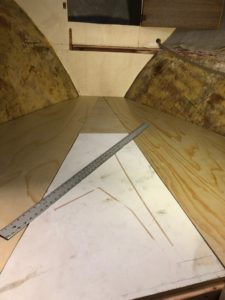
And here is the new base of the bed installed.
It was an interesting project and I learned a lot. I’m not sure it would be practical to start a business customizing boats using this process. My main concern is being able to get good photographs that will allow you to get accurate results from the photogrammetry. A different type of scanning process to create the 3D model would probably be better, but the ones I’m familiar with are quite expensive and I didn’t have access to anything else.

1 thought on “ReCap and Shaper Origin Boat Design”
That is awesome! I have thought a lot about how to redo the interior on my sailboat. Great write up!